
Plugins and Processing: Understanding EQ, Compression, and the Tools That Shape Your Sound
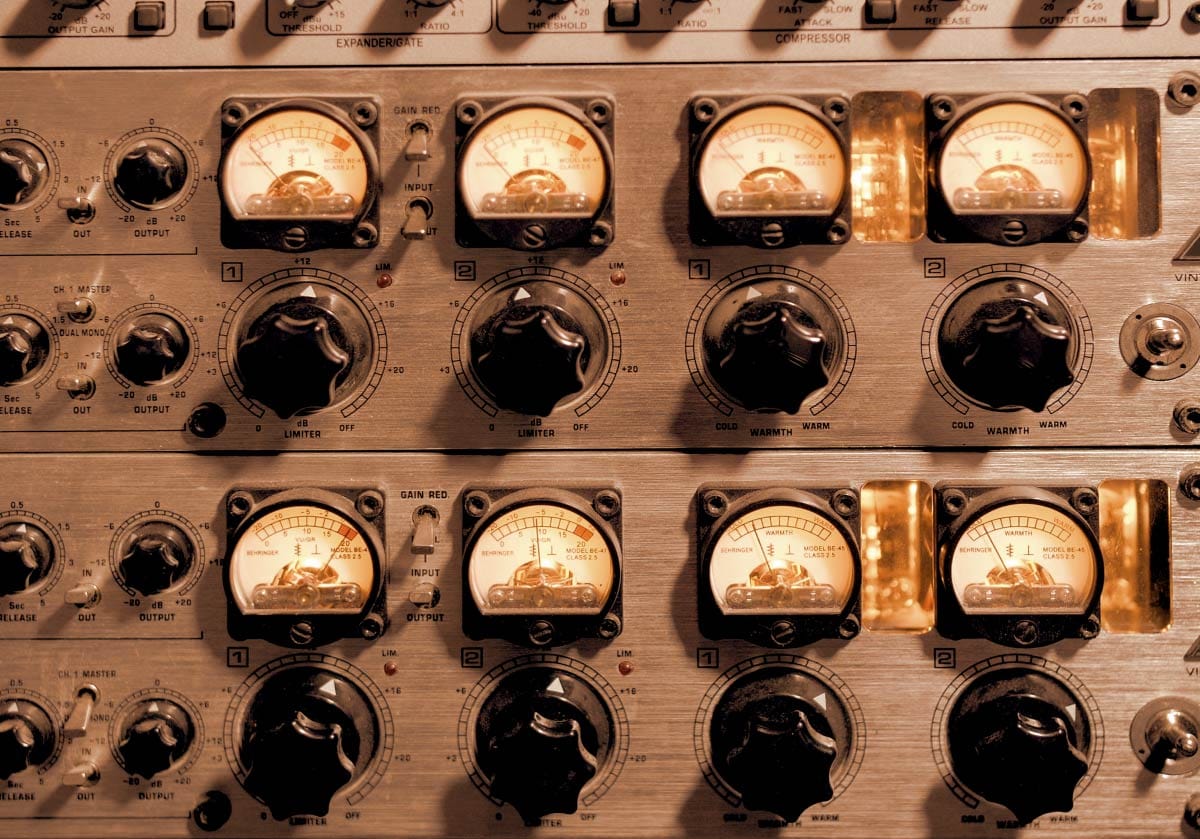
My Kingdom for More Plugins!
At Embervane, we see plugins as the tools that shape your sound. They color your tracks, control dynamics, create space, add movement, and help you sculpt music that feels intentional and expressive. But with thousands of plugins available - free, paid, boutique, legacy, analog‑modeled, digital‑clean - it’s easy for beginners to feel overwhelmed.
This high-level guide is designed to give you a handle on the major categories of audio processing (plugins). You’ll learn what each type of plugin does, when to use it, and how to avoid the common mistakes that slow down new producers.
Plugins are Your Toolkit
EQ & Filters
Equalizers change volume of different frequencies.
Filters 'cut off' certain frequencies, letting other sounds pass by. A high-pass filter will cut off low frequencies and let the higher frequencies pass by so you can hear them. A low-pass filter does the opposite, cutting off the high frequencies and letting the lower frequencies pass by.
Music creators use EQs and filters to shape tone, remove mud, brighten vocals, and carve space for instruments.
Compressors
Compressors control the dynamic range of sound passing through them. But what does that really mean?
Dynamic range is the volume difference between the loudest and quietest parts of the song.
Compressors 'compress' that range. Typically, that means hearing more of the quiet parts of a track. However, compressors can be configured to smooth or create 'punch' in a track.
Saturation & Harmonics
Saturation is a form of distortion. It focuses on adding harmonic content to a sound.
Harmonics are how our ears tell the difference between different natural sounds, like a trumpet playing the same note as a violin.
Saturation is also used to 'thicken' sounds or creating a 'warmer' feeling. It also can create a more 'dimensional' sound when used appropriately.
Reverb & Delay
At a base level, these plugins add echoes to your sound. Delay plugins tend to add very specific repetitions of the original source sound. Reverb plugins tend to sound like the reflections coming from a room's walls or other solid surfaces.
These tools are used to create a sense of depth in a song. They fall under the spatial processing category.
Utility Tools
Not everything in the land of plugins will be about shaping sound. Meters, analyzers and gain plugins help you understand what’s happening in your song.
I use meters all the time to help me along the music creation process - when you measure, you know where you are sitting.
If you are starting out, this guide is meant to give you an overview of the tools that you will use when on the beginner's roadmap to digital music production.
EQ: Shaping Tone, Clarity, and Space in your Mix
EQ (equalization) is one of the most essential tools in music production. It shapes the tone of every sound, removes unwanted frequencies, creates space between instruments, and helps your mix feel clear instead of crowded.
While compression controls dynamics, EQ controls frequency balance - the foundation of how your music actually sounds.
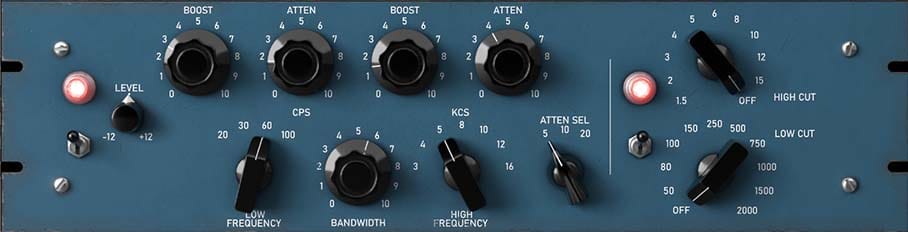
Plugin interface shown: Rule Tec Heritage Pro by NoiseAsh
Why EQ Matters
Have you ever heard a sound and it just did not sit right with your ears? Or maybe a guitar was fighting with the vocals? Well that is typically when we would reach for an EQ.
Every sound occupies a range of frequencies. When those ranges overlap too much, your mix becomes muddy, harsh, or unfocused.
EQ helps you:
remove mud from low‑end instruments
brighten vocals and leads
soften harshness in digital synths
carve space so instruments don’t fight each other
enhance the emotional character of a sound
fix problems before they reach the mix bus
EQ is both corrective and creative. It can fix issues, but it can also shape a sound into something new.
You might find that a vocal recording has some unpleasant resonance that pokes at your ears - you can use EQ to help tame that.
And what about the kick drum that just doesn't have enough oomph - you can use EQ to help boost the low end and shape that sound.
Types of EQ
There are multiple types of EQs. Although all of them work to change the volume of a specific frequency, they operate a little differently in their mechanics:
Parametric EQ: precise, flexible, surgical
Graphic EQ: fixed bands, broad strokes
Shelving EQ: boosts or cuts highs/lows smoothly
Analog‑modeled EQ: adds tone, color, and musical curves
Dynamic EQ: reacts to the signal, perfect for taming harshness
Parametric EQs are really helpful for problem‑solving. Analog‑modeled EQs are ideal for tone‑shaping and adding bonus saturation. Dynamic EQs are ideal for controlling frequencies that change over time.
How to Use EQ Effectively
EQs become powerful when you use them with intention. Think about these things before you make your moves:
Cut before you boost - Removing problems often sounds more natural than adding brightness or weight.
Use narrow cuts and wide boosts - Surgical cuts fix issues; broad boosts add musical tone.
Carve space for each instrument - If two sounds fight in the same frequency range, EQ can help them coexist.
High‑pass with purpose - Remove unnecessary low‑end, but avoid cutting too aggressively or too frequently.
Tame harshness with dynamic EQ - Perfect for vocals, guitars, and bright synths.
EQing is not about making every sound perfect - especially when soloing tracks. Rather, it is about helping each sound to fit together nicely.
Where to Use EQ Moves
Because there isn't a place where EQing could not be used, it means being extra careful with your adjustments. Pay attention to these use cases:
Vocals: remove mud, tame harshness, add air
Drums: shape kick/bass relationship, soften cymbals
Bass: remove rumble, add definition
Synths: carve space, reduce resonance
Mix bus: gentle tone‑shaping, subtle polish
EQs are one of the few tools that can appear in almost any of the stages of music production. But use it with clear intent and your songs will be better off.
Saturation: How Harmonics Add Warmth, Weight, and Character
Saturation is one of the most misunderstood tools in music production. It’s not just “distortion” - it’s harmonic enhancement. When you add saturation, you’re adding new frequencies that weren’t originally in the signal, especially in the higher frequencies. These harmonics make sounds feel fuller, warmer, and more present.
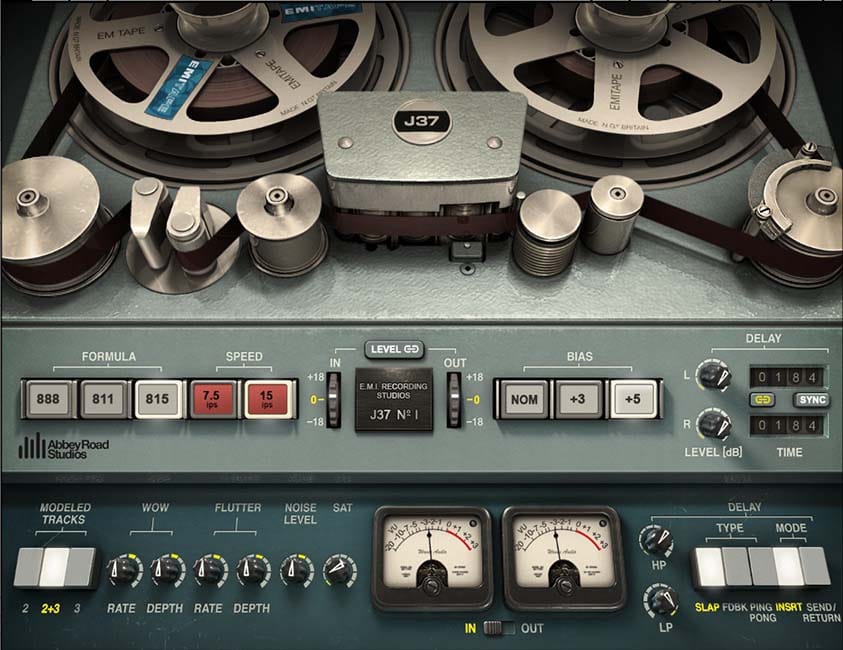
Plugin interface shown: Abbey Road J37 Tape by Waves Audio
Why Saturation Matters
Recording today is primarily done with digital audio. Digital audio is clean - sometimes too clean.
Saturation adds the "imperfections" that make music feel alive. If you have ever heard a song that had that warm 'analog feel,' that happened because of saturation.
Saturation can:
thicken bass
warm up vocals
add bite to drums
glue buses together
enhance perceived loudness
add character to sterile sounds
Types of Saturation
Just as there are different types of EQs, there are different types of saturation. The importance here is not to memorize each one, but rather understand the kind of feel that each provides, as each one adds its own flavor.
Tape: smooth, warm, rounded
Tube: rich, thick, harmonically dense
Console: subtle glue, gentle color
Digital: precise, aggressive, modern
Where to Use Saturation
So, where exactly would you use saturation? Here are some of the common areas where you might want to reach for a saturation plugin:
vocals (for presence)
bass (for weight)
drums (for punch)
mix bus (for glue)
synths (for character)
Remember that the key here is a subtle response - not something that creates obvious distortion, heavy fuzz, or a 'wooly' sound. When you apply saturation, turn up the knob too far and then dial it back to where it sounds best.
How to "See" Harmonics
Did you know it is possible to see what harmonic content a plugin is adding to your sound? That's right. With a utility tool like Melda's MMultiAnalyzer, you can visualize the harmonics a plugin generates.
This helps you understand what the plugin is actually doing - not just what it sounds like. By using test tone files, you can see what your plugins are really doing.
Compression: Choosing the Right Compressor for Any Track
Compression controls the dynamic range of sound - the difference between loudest and quietest parts. It shapes transients, smooths performances, and helps instruments sit properly in the mix.
But not all compressors are the same. They have different 'personalities.'
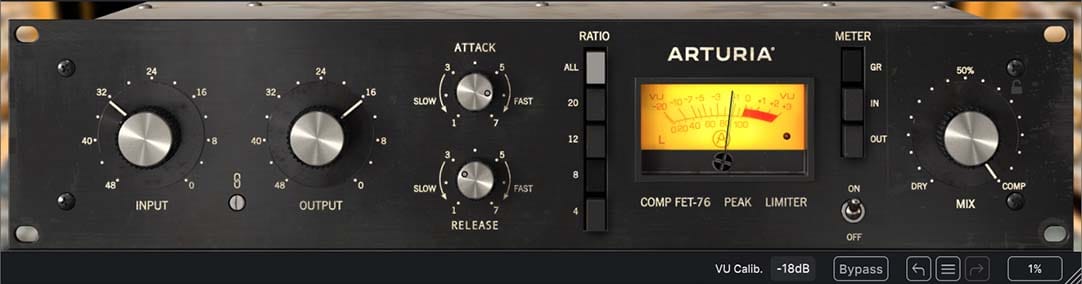
Plugin interface shown: Comp FET-76 by Arturia
Why Compression Matters
After saturation, I feel that compression is one of the most misunderstood aspects of working with music. Sure, people can get a handle for what it does, but to truly be able to understand how to make a compressor dance for you is something else.
Just like EQs, compressors have both technical and creative sides. But for now, we start with the core concepts. Compression can help you:
control peaks (less pokey transients)
add punch (more smack to things like drums)
smooth vocals (a smooth vocal holds our attention better)
tighten drums (get those drums in the pocket)
glue buses (tracks that are glued together feel more cohesive)
shape tone (that's right - you can shape tone with compressors)
increase consistency (consistency = more stable = better sounding)
Types of Compressors
Different compressors will sound different. Why? Because different compressors used different methods of controlling the dynamic range - I'm talking at the electronics level.
And those decisions lead to different sounding compressors. Take this overview as an example:
VCA (SSL, API): punchy, fast, clean
FET (1176): aggressive, bright, energetic
Optical (LA‑2A): smooth, slow, musical
Vari‑Mu (Fairchild): warm, gluey, vintage
Don't fall into the trap thinking that one compressor type only works with one purpose - that is not true. For now, keep things simple and just understand that these different sounds or feelings are what you should keep your ears open for.
Then, you can make better decisions later about which compressor you reach for on a specific track.
How to Choose the Right Compressor
As long as you remember that these rules are not hard and fast, then consider some rules of thumb for your compressor choices:
Vocals: Opto or Vari‑Mu
Drums: VCA or FET
Bass: FET or Opto
Mix Bus: VCA or Vari‑Mu
Synths: VCA or Opto
Calibration Matters
If you are using compressors, especially on a bus, it actually makes sense to calibrate those compressors first. And yes, even when using plugins.
If you have set your mixing levels correctly, you can control the amount of compression that is happening at the bus level.
How do you do that? By using a 1 kHz sine wave at -18 dBFS RMS, conveniently provided as part of the Embervane Test Tone Files free resource. You even get specific instructions showing how to calibrate a bus compressor.
Reverb: Plates, Halls, and Rooms, Oh My!
Reverb creates space. It tells the listener where the sound “lives.” This is how we position a sound on a virtual soundstage for the listener.
Are we listening in a small jazz club with an intimate vocal? Are we in a concert hall with a full orchestra? How about a rock room?
Different reverb types create different spatial effects, which trigger different emotional responses.
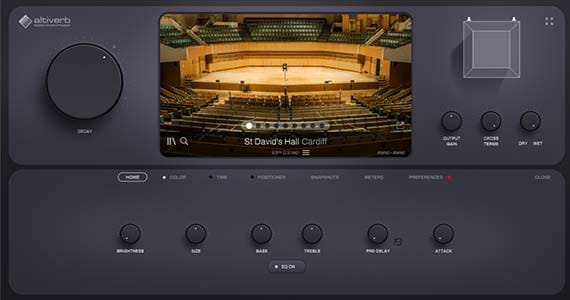
Plugin interface shown: Altiverb 8 by Audio Ease
Plate Reverb
A plate reverb uses a literal plate of metal. Sound is broadcast against it on one end and a microphone picks up the delayed vibrations on the other end.
It can sound bright, smooth, metallic. It can work with vocals, snares, and melodic instruments.
Hall Reverb
A hall reverb simulates the kind of lush and long echo tails that come from large spaces, namely a concert hall. This kind of reverb is really powerful, but can also quickly overtake the other sounds in your song - use with caution.
It can sound cinematic and rich. It is great for pads, strings, and ambient music.
Room Reverb
While a hall reverb is very large, a room reverb tends to be smaller, yet still captures the reflections off of the walls of the space.
It can sound smaller, natural, and intimate. It can work well on drums, guitars, and realistic smaller spaces.
Why Reverb Matters
Nothing else quite gives the sense of a room that the instruments are playing in like reverb. It is incredibly powerful, when used correctly, to create an immersive listening experience even with stereo speakers.
Reverb helps you to:
place sounds in a space
add depth
create atmosphere
smooth transitions
add emotional tone
Choosing the Right Reverb
When choosing which reverb to use, know that there are accurate reverbs and stylistic reverbs. Accurate reverbs will model a room as if you were in it - this can be really strong for creating a sense of cohesive space.
Stylistic reverbs can add a flavor to the sound that may be desirable.
Think about what you are trying to achieve when using reverb. It is so easy to overdo it here, so start small and work with intent.
Here are some quick guidelines for reverbs that may work well with different instrument types:
Vocals: plate or small hall
Drums: room or plate
Pads: hall
Guitars: room
FX: creative combinations
Delay: Creative Uses in Modern Production
At its core, a delay is an echo tool. By controlling how long the echo is heard, how fast it bounces back, how fast it decays away and where we hear those bounces, you can increase the musical expression of a track.
Delay adds movement, rhythm, and texture. It’s more than just an echo - it’s a creative tool that shapes the feel of a track.
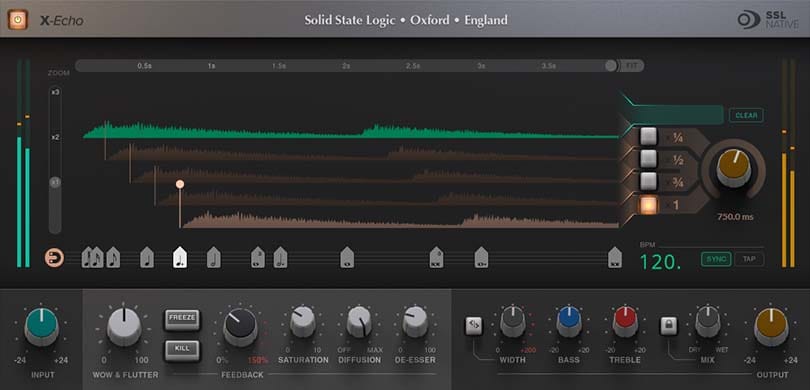
Plugin interface shown: SSL Native X-Echo by Solid State Logic
Types of Delay
Digital: clean, precise
Analog: warm, dark
Tape: vintage, fluttery
Ping‑Pong: stereo movement
Multi‑Tap: rhythmic patterns
Reverse: experimental, atmospheric
Creative Delay Techniques
Here are some examples of what delay can do in your music:
widen vocals
add groove to drums
create rhythmic patterns
build transitions
add depth without reverb
create call‑and‑response effects
Delay as a Mix Tool
Delay can replace reverb when you want space without wash: short delays add presence - long delays add drama.
But, just like reverb, this kind of thing is easy to overdo. Why? Because the spatial effects (reverb and delay) sound cool but also compete with the main sound.
If we hear the spatial effects at too loud of a level, our brains lose interest in the main sounds. And that would be like zoning out to the echoes at a concert instead of focusing on the performance!
Oversampling: Cleaner Processing; Better Sound
On some plugins, you will see an option to use oversampling. Typically, this will have some kind of multiplier like 1x, 2x, and so on.
Oversampling increases the internal sample rate of a plugin so it can process audio more accurately. This reduces aliasing - unwanted digital artifacts that appear when harmonics exceed the Nyquist limit.
And that is a whole bunch of technical talk that means this: If you are getting some unpleasant distortion or frequency responses when using a plugin, try bumping up the oversampling to see if it goes away.
Why not use oversampling all the time? Because oversampling means more work for the CPU and that kind of thing adds up.
Why Oversampling Matters
saturation sound cleaner
distortion sound smoother
compression sound more accurate
EQ boosts sound more natural
harmonics behave correctly
When to Use Oversampling
When using saturation or heavy distortion to prevent aliasing.
When boosting high frequencies to keep the top-end smooth.
When using analog-modeled plugins that introduce harmonic saturation.
During the mastering stage for maximum final render accuracy.
When Not to Use Oversampling
your CPU is struggling
you’re working with simple utility plugins
you’re tracking live instruments
Your Next Steps
The world of plugins and processing is vast - give yourself the grace of patience when it comes to learning these things. Start slowly and work your way up.
As your skills improve, you will find that you stop thinking about what to use and you just use what you think will work. This is a game of repetition and listening. When in doubt, push something too far and then pull it back until it sounds the best.
Found this guide helpful?
Spread the word and share with another creator.
Previous Topic <
> Next Topic
About the Author

Jim is the creator of Embervane - a lifelong music maker with a curiosity‑driven approach to creativity and learning. He has been playing drums since age nine and composing seriously since 2018, continually refining his craft through study, experimentation, and hands‑on practice.
With a background in chemistry and more than two decades of studying behavioral psychology, Jim brings a unique blend of scientific thinking and human understanding to music education. He beta‑tests tools for companies like Mastering the Mix, Kit Plugins, and Soundiron, which keeps him close to the evolving landscape of modern production.
Jim isn’t a celebrity producer or award‑winning engineer - he’s a creator who remembers exactly what it feels like to struggle, learn, and grow. His mission is to help other music makers build clarity, confidence, and momentum in their craft.
Jim is the creator of Embervane - a lifelong music maker with a curiosity‑driven approach to creativity and learning. He has been playing drums since age nine and composing seriously since 2018, continually refining his craft through study, experimentation, and hands‑on practice.
With a background in chemistry and more than two decades of studying behavioral psychology, Jim brings a unique blend of scientific thinking and human understanding to music education. He beta‑tests tools for companies like Mastering the Mix, Kit Plugins, and Soundiron, which keeps him close to the evolving landscape of modern production.
Jim isn’t a celebrity producer or award‑winning engineer - he’s a creator who remembers exactly what it feels like to struggle, learn, and grow. His mission is to help other music makers build clarity, confidence, and momentum in their craft.


©2026 Embervane LLC. All rights reserved. Embervane™ is a trademark of Embervane LLC.